Choosing the Right Space
Before diving into soundproofing and acoustics, identify the best spot in your basement. Aim for a room with minimal plumbing and electrical systems running through the walls to avoid unexpected drum solos from your pipes. The fewer interruptions, the easier it is to create a quiet environment. Plus, who wants to explain to their drummer why their latest track features a cameo by the furnace?Soundproofing 101
Soundproofing is crucial to keep your music contained and prevent external noise from ruining your recordings. Start by sealing gaps and cracks where sound can escape. Use acoustic caulk around windows, doors, and any other openings. Next, add mass to the walls, floors, and ceiling. This can be achieved with materials like mass-loaded vinyl, which is as exciting as it sounds. It’s heavy, dense, and excellent at blocking sound.For the walls, consider adding a layer of drywall over the existing ones, with green glue sandwiched in between. Green glue, despite its misleading name, isn’t environmentally friendly glue, but a noise-proofing compound that helps dampen sound vibrations. For the floor, thick carpets or rubber mats can reduce sound transmission, and for the ceiling, resilient channels can create an additional barrier.
Acoustics: The Sound of Music
Once your basement is soundproofed, it’s time to focus on acoustics. A room with poor acoustics can make even the best musicians sound like they’re playing in a tin can. Begin by treating the walls with acoustic panels. These panels absorb sound waves, reducing echoes and improving sound quality. You can buy pre-made panels or, for a touch of DIY flair, make your own using fabric and foam.Bass traps are another essential acoustic treatment. These thick, corner-mounted panels absorb low-frequency sounds that tend to bounce around and muddy your recordings. Position them in the corners of the room where bass frequencies build up the most.
Don’t forget the ceiling! Hanging acoustic clouds can help absorb sound reflections from above. These can be made from lightweight materials and suspended at various heights to catch stray sound waves.
Essential Equipment
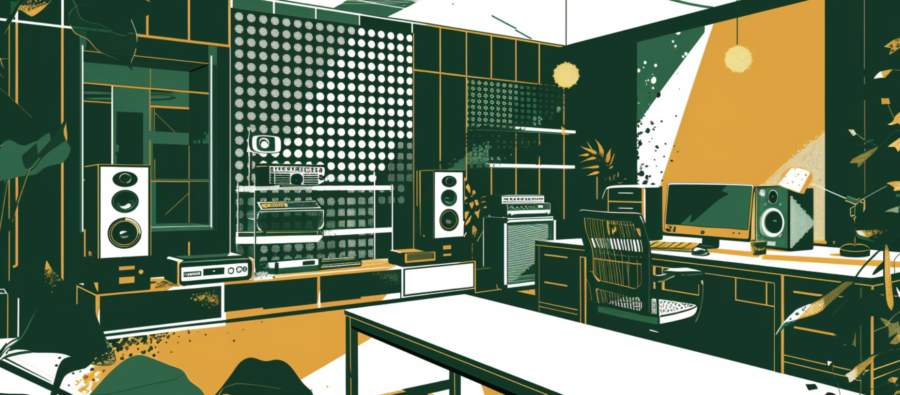
With your room soundproofed and acoustically treated, it’s time to move in the gear. A high-quality microphone is a must-have for any recording studio. Condenser microphones are ideal for capturing vocals and acoustic instruments with clarity and detail. Pair your microphone with a pop filter to reduce plosive sounds – those annoying bursts of air that can ruin a perfect take.Next, invest in a good set of studio monitors. Unlike regular speakers, studio monitors provide a flat frequency response, ensuring you hear an accurate representation of your recordings. This is crucial for mixing and mastering your tracks.
A digital audio interface is another essential piece of equipment. This device converts your analog signals into digital data, allowing you to record directly to your computer. Choose an interface with multiple inputs and outputs to accommodate various instruments and microphones.
Lastly, consider sound isolation for your gear. Microphone isolation shields can prevent unwanted room noise from creeping into your recordings, while monitor isolation pads can reduce vibrations and improve sound accuracy.
Lighting and Ventilation
Now that your basement is equipped with top-notch soundproofing, acoustics, and gear, let’s talk about comfort. Good lighting is crucial for creating a pleasant and productive environment. Opt for adjustable LED lights that can be dimmed to set the mood for different sessions. Avoid fluorescent lights as they can produce an annoying hum that might get picked up by sensitive microphones.Ventilation is another important factor. A stuffy room can quickly become uncomfortable during long recording sessions. Consider installing a ventilation system that operates quietly. There’s nothing like the soothing hum of fresh air to keep your creativity flowing – and your band members from passing out mid-riff.
Personal Touches
Your music studio should reflect your personality and inspire creativity. Decorate the space with items that motivate you, whether it’s posters of your favorite bands, vintage guitars, or quirky memorabilia. Adding a couch or a few comfortable chairs can make the space more inviting for collaborators or provide a place to relax between takes.Storage is another consideration. Keep cables, microphones, and other gear organized with shelving units and labeled bins. A tidy studio is a happy studio, and it’s much easier to find that elusive cable when you’re in the zone.
Safety First
While transforming your basement into a music studio, don’t forget about safety. Ensure that all electrical work is done by a professional to avoid any hazardous situations. Fire safety is paramount, especially with all the electrical equipment. Install smoke detectors and have a fire extinguisher on hand. After all, the only fire you want in your studio is the fiery passion in your music.Wrapping Up
Creating a professional-grade music studio in your basement is a project that combines technical know-how with creative flair. By focusing on soundproofing, acoustics, and essential equipment, you can build a space that not only meets your musical needs but also feels like a personal retreat. Remember to infuse your personality into the design and prioritize comfort and safety.So, roll up your sleeves, grab your tools, and get ready to turn that basement from a storage dungeon into a soundproof sanctuary where your musical dreams can come to life. Just make sure to keep the ghosts of Christmas decorations past at bay – they might not appreciate your new heavy metal phase.
Article kindly provided by winnipegbasementrenovations.com


