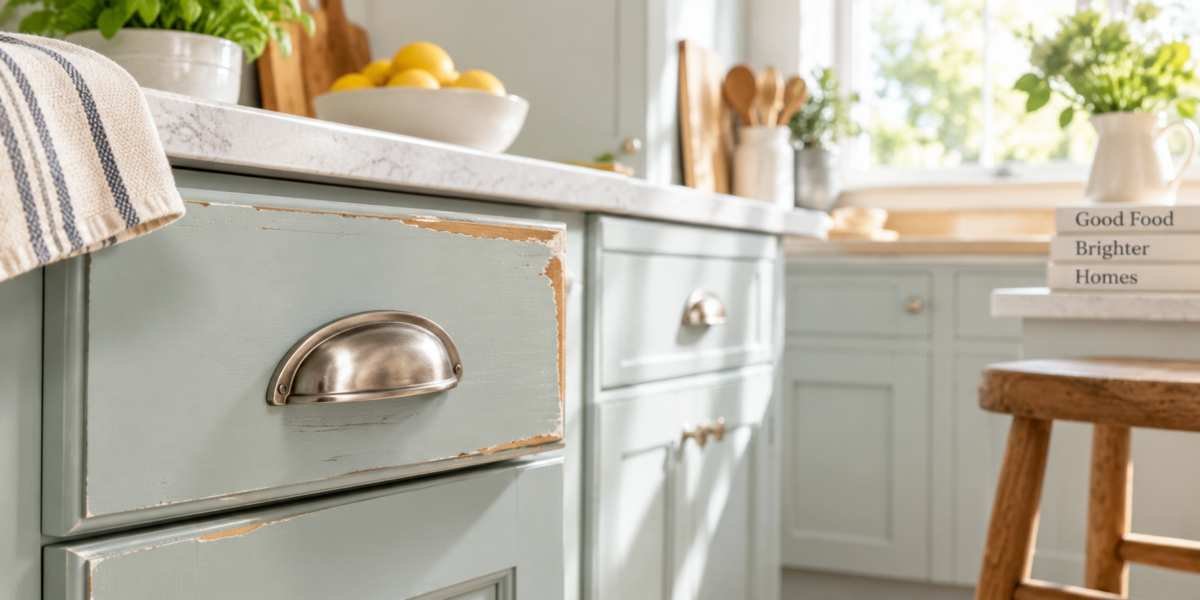
Paint failure around cabinet edges is rarely just bad luck. More often, it exposes a weakness somewhere beneath the attractive new surface.
Edges Have a Harder Working Life
A cabinet door’s centre might spend most of its existence doing almost nothing. Its edges have a considerably busier schedule. Every opening and closing puts hands close to corners, handles and drawer fronts, while kitchens add airborne grease, moisture and food residue to the equation.Edges can also be more difficult to coat evenly. Paint naturally tends to become thinner around sharp profiles, particularly if excessive sanding has rounded or exposed vulnerable areas. Once a tiny chip appears, moisture and repeated handling can gradually enlarge it. What began as a pinhead-sized defect can eventually become a surprisingly ambitious patch of missing paint.
Cleaning Is More Important Than It Looks
Painting over a cabinet without thoroughly cleaning it is rather like putting a fresh shirt over gardening clothes and declaring the laundry finished. The new layer may look convincing temporarily, but the underlying problem remains.Kitchen cabinets accumulate oils that ordinary dusting will not remove. Areas around handles are especially susceptible because natural skin oils are repeatedly transferred to the surface. Cooking vapours can create additional deposits that may be almost invisible.
A suitable degreasing cleaner should therefore be used before sanding or painting. Cleaning first also prevents sanding from simply grinding contaminants deeper into the existing finish. Surfaces should then be rinsed or treated according to the cleaner manufacturer’s instructions and allowed to dry completely.
Preparation Creates the Mechanical Grip
Even an excellent cabinet coating needs something to hold onto. Glossy existing finishes can provide poor adhesion unless they are properly prepared. Light sanding removes surface sheen and creates a fine texture that helps primers and subsequent coatings bond effectively.Particular attention should be given to corners, edges and areas surrounding hardware. Sanding should be controlled rather than aggressive. The objective is normally to create a sound, receptive surface, not to excavate the cabinet until its previous colour becomes an archaeological discovery.
Damaged areas also need proper repair before coating begins. Loose paint should be removed, chips feathered smooth and dents or damaged substrate repaired where appropriate. Painting over unstable material merely gives the new coating an unreliable foundation.
Primer Is Not Just an Extra Tin
Once the surface is clean, sound and properly prepared, primer can provide an important bridge between the old finish and the new coating. The appropriate primer depends on the cabinet material, its existing finish and the paint system being used. Timber, MDF, previously painted surfaces and glossy factory finishes can present quite different adhesion challenges.Primer is particularly valuable where repairs have exposed bare material. Without it, repaired patches may absorb the finishing coat differently from surrounding areas, producing variations in sheen or colour. Certain timber surfaces can also release stains or tannins through fresh paint, turning an immaculate pale cabinet into something resembling a very slow coffee accident.
Manufacturers’ instructions matter here. Using compatible primers and topcoats reduces the risk of adhesion problems and unexpected reactions between products.
Handles Deserve Special Attention
Removing knobs, pulls and handles before preparation generally makes it easier to clean and coat the surrounding area properly. Painting carefully around fitted hardware might save a few minutes, but it can leave narrow strips of contamination or poorly prepared paint precisely where hands make frequent contact.Handle holes should also be inspected for damage. Repeated tightening can compress or fracture material around fixing points, particularly on older doors and drawer fronts. If handles are being repositioned, redundant holes need to be filled, smoothed and prepared correctly rather than buried beneath increasingly optimistic layers of paint.
These details seem minor when compared with painting an entire kitchen, but durability is often decided by precisely these small jobs. A coating is only as dependable as the surface beneath it.
Dry Paint Is Not Necessarily Cured Paint
One of the easiest mistakes comes after the painting appears to be finished. A coating may feel dry within hours while remaining relatively soft underneath. Full curing can take considerably longer, depending on the product, temperature, humidity, ventilation and thickness of the applied coats.Reinstalling hardware immediately, scrubbing surfaces or enthusiastically returning every saucepan to service can damage paint before it has developed its intended hardness. Cabinet doors can even stick against frames or bumpers if closed too soon.
Following the coating manufacturer’s curing guidance is therefore an important part of the job rather than an inconvenient period invented to test everyone’s patience. Gentle treatment during the early days can make a substantial difference to long-term durability.
Getting a Handle on Lasting Results
Durable cabinet painting is less about one miraculous product than a sequence of ordinary tasks performed properly. Cleaning removes contaminants, careful sanding encourages adhesion, repairs create a stable foundation, suitable primer connects old and new surfaces, and adequate curing gives the coating time to develop strength.The edges simply reveal whether those steps worked. They receive the fingerprints, knocks, moisture and repeated contact that broad panels largely escape. When a cabinet finish survives around handles, corners and drawer fronts, there is a good chance the quieter parts will remain attractive too.
That makes the smallest areas worth the greatest attention. After all, nobody has ever opened a kitchen drawer by lovingly pressing the untouched centre panel.
Article kindly provided by twelve21designs.com